

For this text I found an image from google and used the horizontal type mask tool again but this time I changed the font and size of the text. I then clicked the Rectangular marquee tool to move the text. Then ctrl X and V which cut out the text. The overlay of the text would be put on a new layer which I then moved underneath.


Firstly, for this text I used the text tool to write a positive message. Then I duplicated it by pressing control J. I moved the text to -45 degrees. You can change the angle at the top where there is a triangle button. Then I clicked the alt button and used the downwards arrow to make the text have more layers to create the effect that it looked thicker. Then I had to merge the layers together by holding shift and dragging down the to select all. Then to merge hold down control T and put the original layer back on.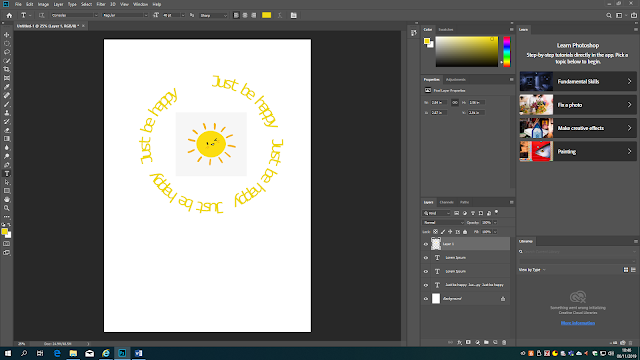

For this text around a path, I used the elliptical marquee tool to create a circle. Then on the layers pallet click the path tool and the circle button at the bottom of the pallet. Then I selected the text tool and hovered over the circle until the wiggly line appeared then I created the text.


No comments:
Post a Comment